Multi-file LaTeX projects
Introduction
In large LaTeX documents one usually has several .tex files, one for each chapter or section, and then they are joined together to generate a single output. This helps to keep everything organized and makes easier to debug the document, but as the document gets larger the compilation takes longer. This can be frustrating since one is usually only interested in working in a particular file each time.
The natural approach to overcome this is to compile each file separately. There are two main packages that allow compilation of single files in a multi-file project. The choice you make depends on what you need.
- With the subfiles package you can compile every subfile independently and each subfile will automatically use the preamble in the main file.
- With the standalone package every subfile works as an independent file, subfiles can be latter joined in a main document that will pull the preambles from each one of them. Especially useful if you need to reuse the same file in more than one document, a tikz picture is a good example of this.
Notes on \documentclass in Overleaf .tex files
As demonstrated in the following video clip, even if you have set your project's main .tex file you can select another file to compile—provided it contains a \documentclass declaration. However, to ensure all elements of your project are compiled correctly—such as glossaries, accessing paths to .bib files etc.—we strongly recommend that you only compile files contained in the root directory of your project.
The subfiles package
This package is suitable for most of the situations, it's really easy to use.
The examples in this section have the next hierarchical file structure:
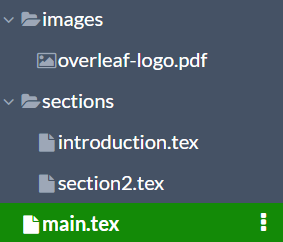
The main file
In the main file two special commands are needed.
\documentclass{article}
\usepackage{graphicx}
\graphicspath{{images/}}

\usepackage{blindtext}

\usepackage{subfiles} % Best loaded last in the preamble

\title{Subfiles package example}
\author{Overleaf}
\date{ }

\begin{document}

\maketitle

\section{Introduction}

\subfile{sections/introduction}

\section{Second section}

\subfile{sections/section2}

\end{document}
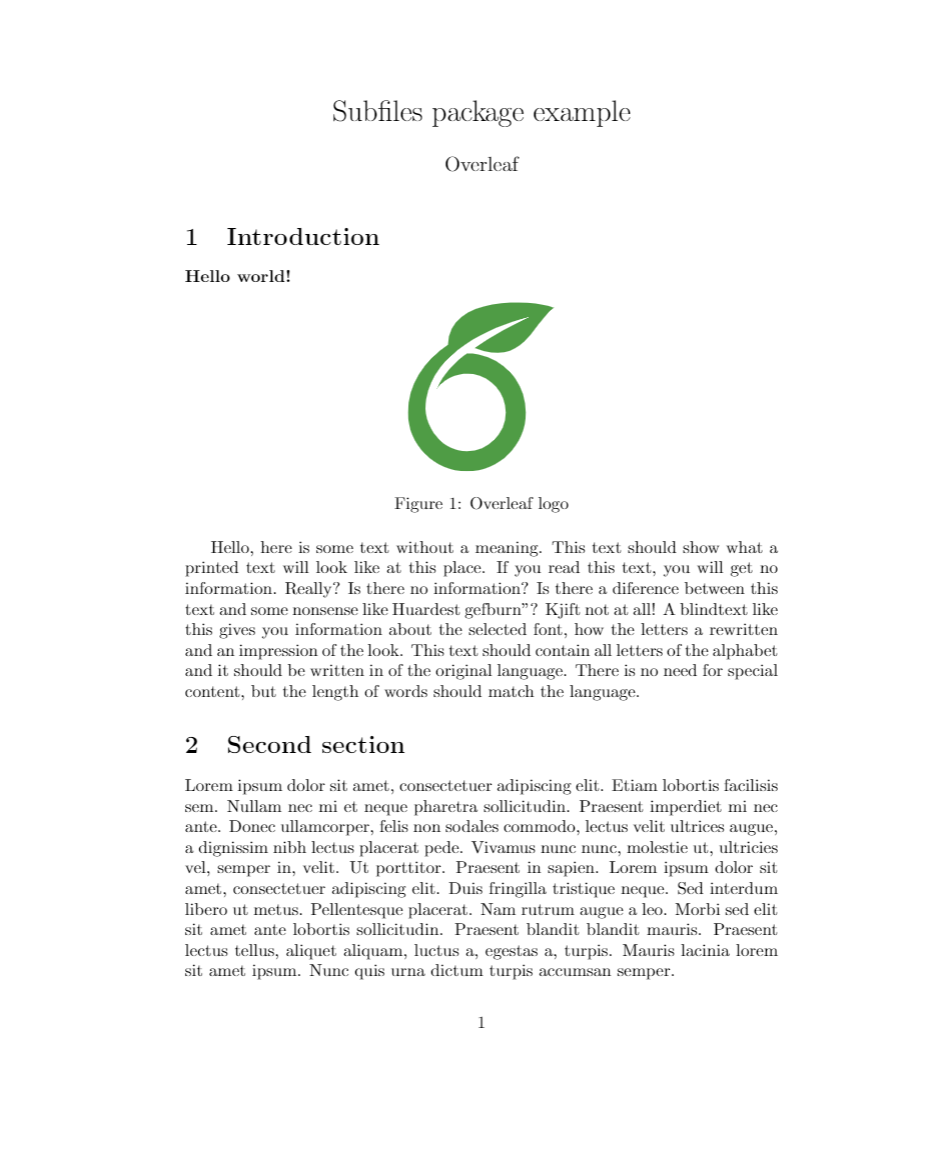
Per-file compilation requires the line
\usepackage{subfiles}
in the preamble, this enables the subfiles package. Then each external sub-file must be imported with the command \subfile{}. In the example the files introduction.tex and section2.tex are imported into the main file from the images folder. Notice that the file extension is not mandatory.
Open a subfiles package example in Overleaf
The subfiles
Once you have set up your main file, each subfile must have a special structure.
\documentclass[../main.tex]{subfiles}
\graphicspath{{\subfix{../images/}}}
\begin{document}
\textbf{Hello world!}
\begin{figure}[bh]
\centering
\includegraphics[width=3cm]{overleaf-logo}

\label{fig:img1}
\caption{Overleaf logo}
\end{figure}

Hello, here is some text without a meaning...

\end{document}
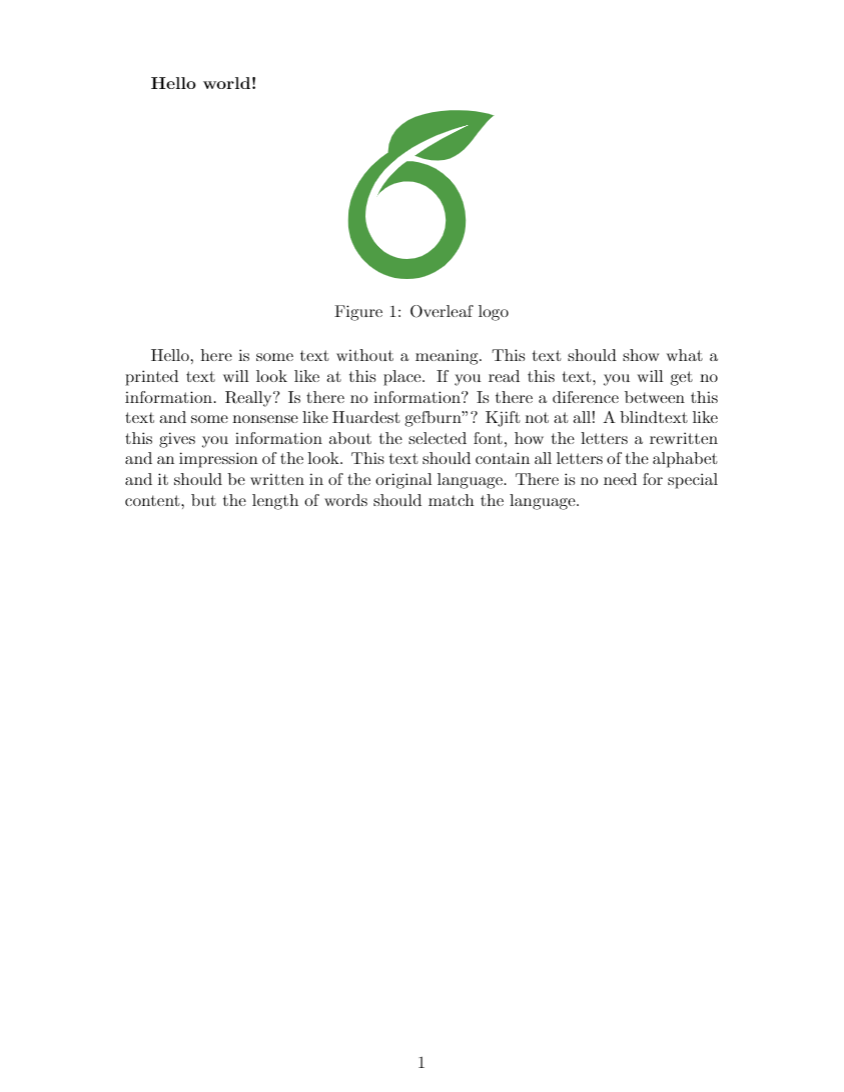
Now this file can be compiled as a standalone file, the document class and the rest of the preamble will be the same defined in the main document.
The first command here is
\documentclass[../main.tex]{subfiles}
the parameter inside brackets, ../main.tex, is the relative path to the main document. In this case the file introduction.tex is inside the folder sections, hence the file main.tex is one level up the current folder (this is what ../ means).
You will also need to use the \subfix command with the relative folder path when specifying \graphicspath in introduction.tex:
\graphicspath{{\subfix{../images/}}}
Then the actual contents is typed inside \begin{document} and \end{document}. Everything outside this environment will be ignored, or more specifically, will be considered as part of the preamble. Avoid leaving blank lines at the top and bottom of the file.
Open a subfiles package example in Overleaf
The standalone package
The package standalone provides the same functionality as subfiles and is more flexible, but the syntax is more complex and prone to errors. The main difference is that each subfile has its own preamble.
The examples in this section have the next hierarchical file structure:
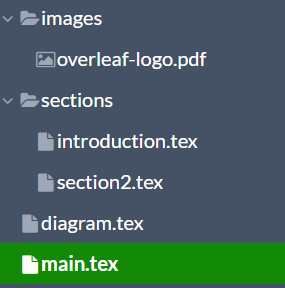
The main file
The main file is very similar to that of any other project with multiple files.
\documentclass{article}
\usepackage[subpreambles=true]{standalone}
\usepackage{import}

\title{Standalone package example}
\author{Overleaf}
\date{May 2021}

\begin{document}

\maketitle

\section{First section}
\import{sections/}{introduction}

\section{Second section}
\import{sections/}{section2}

\end{document}
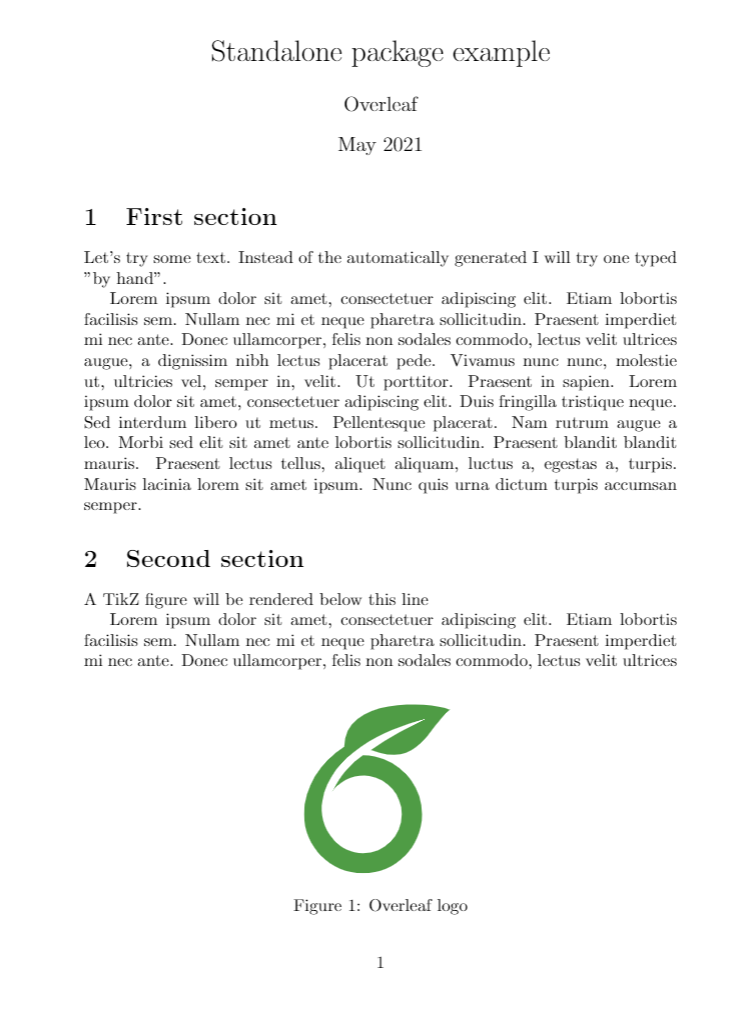
The line
\usepackage[subpreambles=true]{standalone}
enables the standalone package, it should be placed early in the document. The parameter inside brackets tells LaTeX to import the preamble from each subfile (packages are imported only once), if omitted, make sure you have all the necessary commands in the main document preamble for the subfiles to work. One must be careful because of possible incompatibilities in the different preambles.
In the body of the main document, each subfile is imported with \import{}{}. The standard \input{} command can also be used, but the one in this example is recommended to manage large projects because it prevents errors in nested files.
Open an example of the standalone package in Overleaf
The subfiles
Each subfile must have its own preamble and import all packages needed to work as standalone document.
\documentclass[class=article, crop=false]{standalone}
\usepackage[subpreambles=true]{standalone}
\usepackage{import}
\usepackage{blindtext}

\begin{document}
A TikZ figure will be rendered below this line

\begin{figure}[ht]
\centering
\subimport{../}{diagram.tex}
\label{fig:tikzexample}
\caption{A nice simple diagram}
\end{figure}

\blindtext
\end{document}
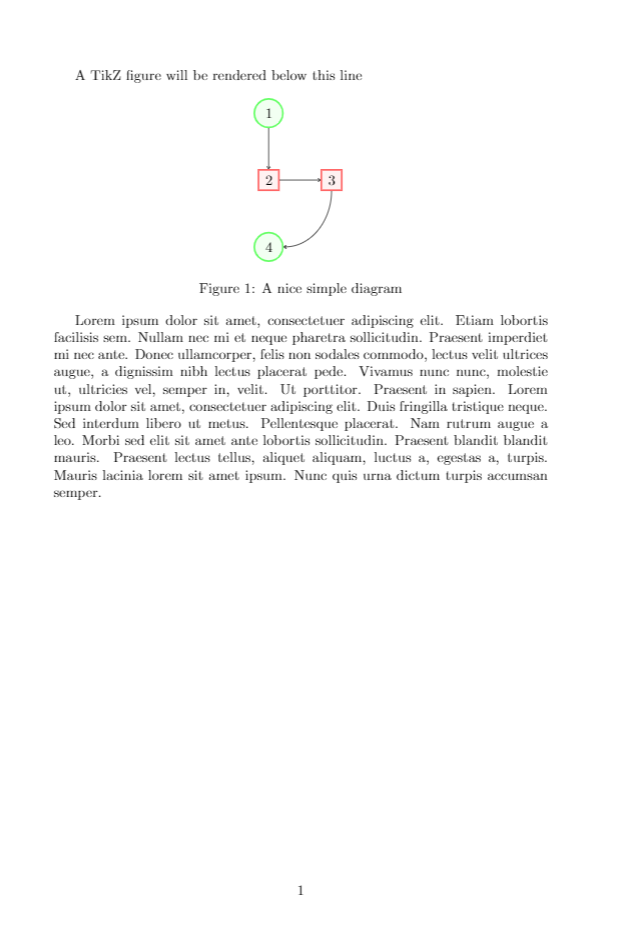
The first line in the subfile is
\documentclass[class=article, crop=false]{standalone}
This declares that this is a file to be used with the standalone package, there are two optional parameters inside the brackets.
class=article. Setsarticleas underlying class, any other class can be used: book, report, etc. (except beamer).crop=false. If this option is omitted the output will be cropped to a minimum size.
The next command is not mandatory
\usepackage[subpreambles=true]{standalone}
but hast to be used in this example because there's a nested standalone file here. A tikz picture is inserted with \subimport{../}{diagram.tex}, you can see the contents of the file "diagram.tex" below:
\documentclass{standalone}
\usepackage{tikz}
\usetikzlibrary{positioning}
\begin{document}

\begin{tikzpicture}[
roundnode/.style={circle, draw=green!60, fill=green!5, very thick, minimum size=7mm},
squarednode/.style={rectangle, draw=red!60, fill=red!5, very thick, minimum size=5mm},
]
%Nodes
\node[squarednode]      (maintopic)                              {2};
\node[roundnode]        (uppercircle)       [above=of maintopic] {1};
\node[squarednode]      (rightsquare)       [right=of maintopic] {3};
\node[roundnode]        (lowercircle)       [below=of maintopic] {4};

%Lines
\draw[->] (uppercircle.south) -- (maintopic.north);
\draw[->] (maintopic.east) -- (rightsquare.west);
\draw[->] (rightsquare.south) .. controls +(down:7mm) and +(right:7mm) .. (lowercircle.east);

\end{tikzpicture}
\end{document}
Open this Standalone TikZ example in Overleaf
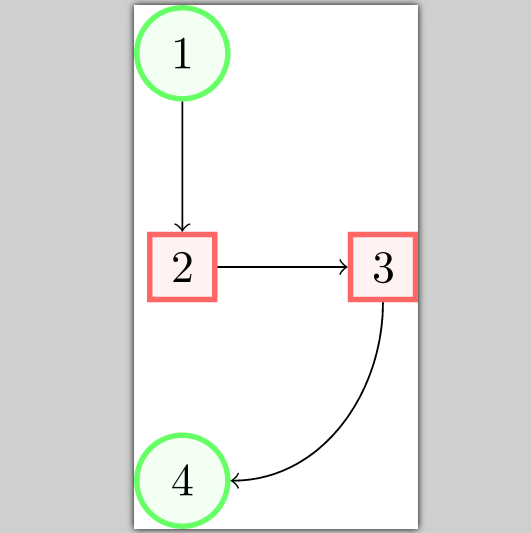
This is the main feature in standalone, you can import this file in any other document and recycle the code. For instance, this diagram can later be used in a presentation without further changes.
Open an example of the standalone package in Overleaf
Further reading
For more information see
- Management in a large project
- Cross referencing sections and equations
- Indices
- Glossaries
- Hyperlinks
- Page numbering
- Single sided and double sided documents
- Multiple columns
- Paragraph formatting
- Page size and margins
- Counters
- Margin notes
- Bold, italics and underlining
- Font sizes, families, and styles
- Font typefaces
- Supporting modern fonts with XeLaTeX
- International language support
- Font sizes, families, and styles
- Compiling big projects
- Inserting Images
- TikZ package
- Writing your own package
- Writing your own class
- The subfiles package documentation
- The standalone package documentation